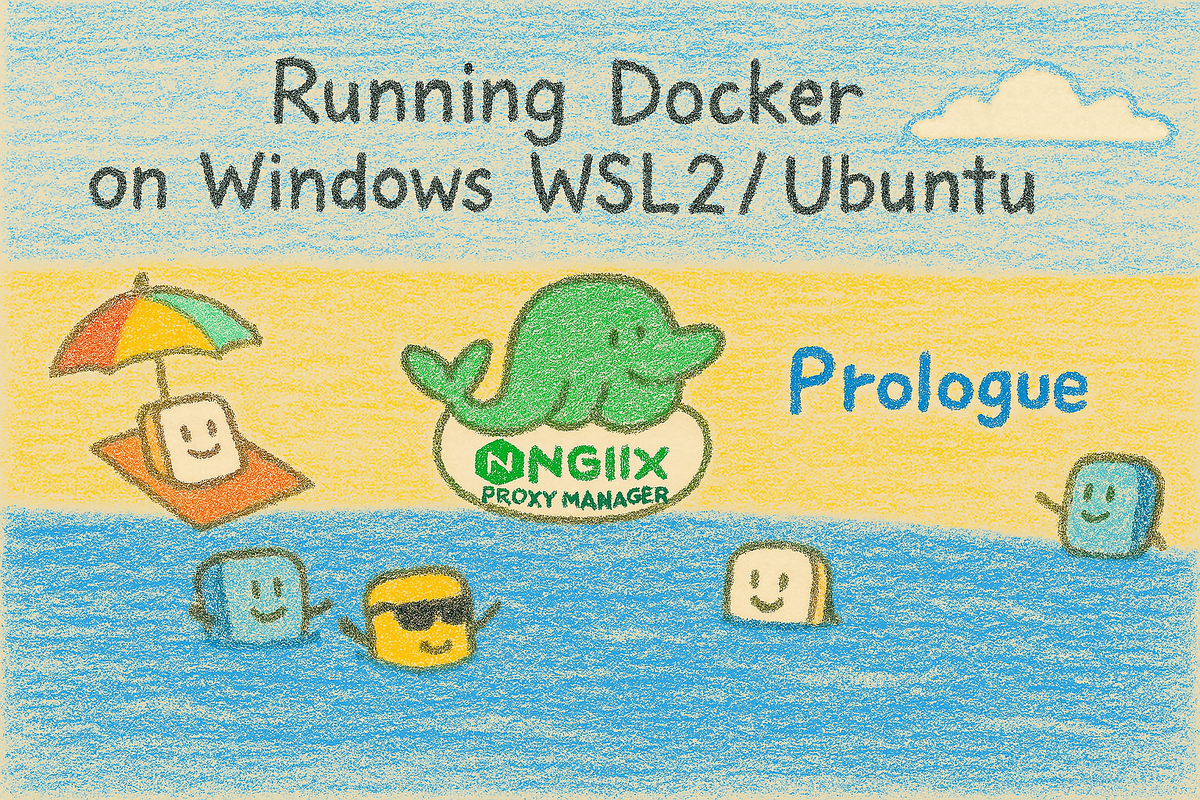
Running Docker on Windows WSL2/Ubuntu (Part 0) - WSL2 Installation
Learn how to set up WSL2 on Windows 11 and prepare for a full home server with Docker Engine, Hyper-V networking, and DuckDNS. A beginner-friendly prologue before diving deeper.
Introduction: From Synology NAS to a New Beginning
For the past few years, I’ve been having a lot of fun experimenting with Docker on my Synology NAS. What once was just a simple storage box has slowly transformed into a treasure chest of utilities, web services, and even blogs, all thanks to Docker. Seeing my NAS evolve from “just a place to dump files” into something that can run web servers and host apps gave me a lot of satisfaction.
But at the same time, there was always this nagging frustration. No matter how far I pushed Docker on my NAS, I could still feel the invisible cage around me—Synology DSM. Performance limitations, restrictive proxy configurations, and the inability to tweak things beyond what DSM allowed. In short, I had escaped one cage only to find myself in another, larger one.
That’s when I decided it was time to spread my wings further. Instead of being confined to my NAS, why not build a more powerful, flexible home server on my desktop? My 10-year-old gaming PC, always running 24/7 for work anyway, was a perfect candidate. Sure, it’s not a low-power CPU, but for my goals, it was more than enough.
My Plan (The Road Ahead)
This series is about running Docker on Windows WSL2/Ubuntu in a way that feels as close as possible to a real Linux server.
- Networking Mode: Hyper-V bridged networking so WSL gets its own LAN IP, behaving like an independent computer.
- Docker Engine (not Docker Desktop): Lighter, cleaner, and closer to a native Linux server.
- Unified Edge Network: All containers share one external bridge network for predictable service discovery.
- Reverse Proxy with Nginx Proxy Manager: Every app lives neatly behind an SSL-secured subdomain.
- Future-Proofing: Automated backups, domain migration, and scaling strategies will follow later.
Constraints and Choices
Running WSL as a server has its challenges:
- It’s not bare-metal Linux, so there are quirks.
- Networking can be tricky—by default, WSL uses NAT. Hyper-V bridging solves this (covered in Part 1).
- Power usage is higher than a NAS since a desktop PC consumes more energy.
Still, the flexibility outweighs the limitations.
Domain: DuckDNS First, Personal Domain Later
To make apps accessible over the internet, you need a domain.
For now, I’ll use DuckDNS.org. It’s free, easy to set up, and includes wildcard support (*.yourname.duckdns.org). That means I can assign subdomains like npm.wody.duckdns.org, portainer.wody.duckdns.org, etc.
While I highly recommend purchasing your own domain (under $20/year) for professionalism and control, I’ll start with DuckDNS to keep costs at zero.
Later in this series, I’ll show how to migrate to a personal domain.
Why Run a Server on Linux?
You might ask, why bother with Linux when Windows is already there?
Here’s why:
- Proven Stability – Linux has powered servers for decades. It’s rock solid and designed for continuous uptime.
- Lightweight & Efficient – Compared to Windows, Linux uses fewer resources. That means more CPU and RAM are left for your containers.
- Huge Ecosystem – Package managers like
aptgive you instant access to thousands of server-grade utilities. - Docker Compatibility – Docker was born on Linux. Running it natively (even within WSL) feels seamless and natural.
Yes, running Linux inside WSL comes with trade-offs. It’s not a bare-metal installation. Ideally, I would have formatted my PC and gone full Linux—but I also need Windows for certain applications. So WSL gives me the best of both worlds: my main Windows desktop environment, and a Linux server running side by side.
Docker: Desktop or Native?
You can either install Docker Desktop for Windows or go with Docker Engine directly inside Ubuntu WSL.
For this project, I chose Docker Engine—and here’s why:
- Less dependency on Windows – Since I configured WSL with Hyper-V bridging, it behaves like a standalone PC on my LAN. I wanted to minimize Windows-specific layers and keep it closer to a native Linux server experience.
- Native Linux feel – Docker Engine runs directly inside Ubuntu, exactly as it would on a real Linux server or VPS. That means more predictable behavior, fewer surprises, and skills that transfer directly to production environments.
- Lightweight – No extra GUI, no Windows background services. Just the Docker daemon inside Linux. This reduces overhead and keeps things clean.
- Better for automation – With Docker Engine, I can script everything using Linux tools and shell scripts, without relying on Docker Desktop’s GUI or Windows integration.
- Consistency – Any docker-compose.yml I build here will behave the same way on a cloud VPS or bare-metal Linux server, which makes migration and scaling easier.
Docker Desktop does provide a polished GUI and convenience for beginners, but for a long-term home server setup, I prefer the simplicity and control of Docker Engine.
Preparing the Basics: Prerequisites
Before we jump into commands, there are a few conditions you need to meet:
- Open Ports 80/443 – Your PC must allow external access through HTTP and HTTPS.
- Domain Name – Owning a personal domain is highly recommended. While free DDNS services exist, nothing beats the flexibility and professionalism of having your own domain.
- Router Configuration – You’ll need to set up port forwarding (80, 443, and temporarily 81 for Nginx Proxy Manager). Check your ISP availability, as some providers block these ports.
Without these, you’ll still be able to experiment locally, but part of the joy of running a home server is exposing it securely to the outside world.
Step 1: Install WSL
The very first step is to enable Windows Subsystem for Linux (WSL) on your Windows 11 machine. WSL allows you to run a full Linux environment directly inside Windows, without the need for a separate virtual machine like VMware or VirtualBox.
1. Install and Open PowerShell
⚠️ Yes, you can also use the traditional Command Prompt (cmd.exe) for WSL commands. However, I recommend PowerShell because:
- It has richer scripting capabilities.
- Better compatibility with modern Windows features.
- Many advanced server automation tasks (which we’ll cover later) are PowerShell-first.
If you don’t have PowerShell installed yet (some older Windows versions may not ship with the latest version), download it from the official Microsoft site or install it via the Microsoft Store.
Once installed, run PowerShell as Administrator:
Right-click the Start menu → PowerShell (Admin) or Terminal (Admin)
2. Install WSL
In your elevated PowerShell window, run:
wsl --installThis will:
- Enable the WSL feature in Windows
- Download and install the Linux kernel package
- Set WSL2 as the default version
- Install the default Linux distribution (Ubuntu)
3. Already Have WSL? Update It
wsl --updateThis ensures you’re on the latest kernel and WSL improvements.
4. Check Installed Version
wsl --statusLook for:
- Default Version: 2
- Your installed distribution (e.g., Ubuntu)
If it shows version 1, upgrade:
wsl --set-default-version 25. Install Your First Linux Distribution
At this point, WSL itself is ready, but we haven’t actually installed a Linux distribution yet. Let’s fix that.
Check Installed Distributions
First, see if you already have any Linux distributions installed:
wsl --list --verboseOutput example:
  NAME            STATE           VERSION
* Ubuntu-22.04    Running         2
Debian Stopped 2NAME→ the identifier you’ll use in commandsSTATE→ whether the distro is running or stoppedVERSION→ WSL version (should be 2)
The * marks your default distro.
Check Available Distributions Online
To see which ones you can install:
wsl --list --onlineYou’ll see something like:
The following is a list of valid distributions that can be installed.
   NAME            FRIENDLY NAME
   Ubuntu          Ubuntu (Default)
   Ubuntu-24.04    Ubuntu 24.04 LTS
   Ubuntu-22.04    Ubuntu 22.04 LTS
   Debian          Debian GNU/Linux
   ...
Install Ubuntu (Default: Latest LTS)
If you run:
wsl --install -d Ubuntu…it will install the latest Ubuntu LTS release.
👉 As of 2025, that means Ubuntu 24.04 LTS (Noble Numbat).
Pin to a Specific Version (Recommended)
To avoid surprises when Ubuntu updates its default LTS in the future, I recommend explicitly naming the version you want:
wsl --install -d Ubuntu-24.04That way, you’ll always know exactly which version you’re working with.
First-Time Setup
Once installation completes, a terminal window will pop up asking you to create:
- Username (your default Linux account)
- Password
This account becomes your primary WSL login.
Managing Multiple Distros
If you have several installed distros, you can control which one is the default:
wsl --set-default Ubuntu-24.04Or launch a specific one:
wsl -d Ubuntu-22.04Removing a Distribution
To completely remove a distro:
wsl --unregister Ubuntu-22.04⚠️ Warning: This permanently deletes all data, configs, and containers inside that distro. Always back up first.
👉 With Ubuntu installed and your first user account created, you now have a real Linux environment inside Windows. In the next step, we’ll do some initial setup: updating packages, setting root access, and preparing the system for Docker.
6. Ensure WSL Starts Automatically After Reboot
One important thing to remember: WSL does not start automatically after a Windows reboot.
This means if your PC restarts overnight due to Windows Update or power issues, your Ubuntu server (and all Docker containers inside it) will be offline until you manually launch WSL again.
For a home server, that’s unacceptable. The fix is to use Windows Task Scheduler so WSL starts up as soon as Windows boots.
Create an Auto-Start Task
- Open Task Scheduler
Press Win + R, typetaskschd.msc, and hit Enter. - Create a New Task
- In the right-hand panel, click Create Task.
- Give it a name like “Start WSL Ubuntu”.
- Configure Triggers
- Go to the Triggers tab → New.
- Set it to run At startup.
- (Optional) Also add a trigger At log on if you want WSL to launch when you log in.
- Configure Action
- Go to the Actions tab → New.
- Action: Start a Program.
- Program/script:
wsl -d Ubuntu-24.04
(ReplaceUbuntu-24.04with the name of your installed distribution. Usewsl --listto check.)
- Configure Settings
- On the General tab, select Run whether user is logged on or not.
- Check Run with highest privileges.
- Save the Task
- Click OK.
- You may be prompted for your Windows password.
Verify Auto-Start
To test:
- Reboot your PC.
- Once Windows starts, WSL should also launch automatically in the background.
- You can confirm by opening PowerShell and running:
wsl --list --runningYour Ubuntu distro should appear as running.
👉 With this in place, you don’t have to worry about surprise reboots taking down your server.
7. Reboot if Necessary
After installation, updates, and networking changes, reboot your computer so all changes take effect.
💡 Tip: If you run into errors, check your BIOS/UEFI settings to ensure virtualization is enabled (Intel VT-x or AMD-V). Without virtualization, WSL2 cannot run.
What’s Next?
At this point, WSL2 is installed but without the default Ubuntu distribution.
In Part 1, we’ll cover:
- Ubuntu’s first-time setup
- Installing Hyper-V and configuring bridged networking
- Preparing Ubuntu as a proper server node
From there, we’ll install Docker Engine and start building the home server stack.
Final Thoughts
Think of this as leaving behind the comfort (and limits) of DSM and entering a bigger world.
Part 0 is about laying the groundwork and explaining the approach.
In the next part, we’ll dive into Ubuntu Initial Setup + Hyper-V Bridged Networking and start shaping WSL into a true home server. 🚀
👉 Stay tuned for Part 1: Ubuntu Initial Setup + Hyper-V Bridged Networking.