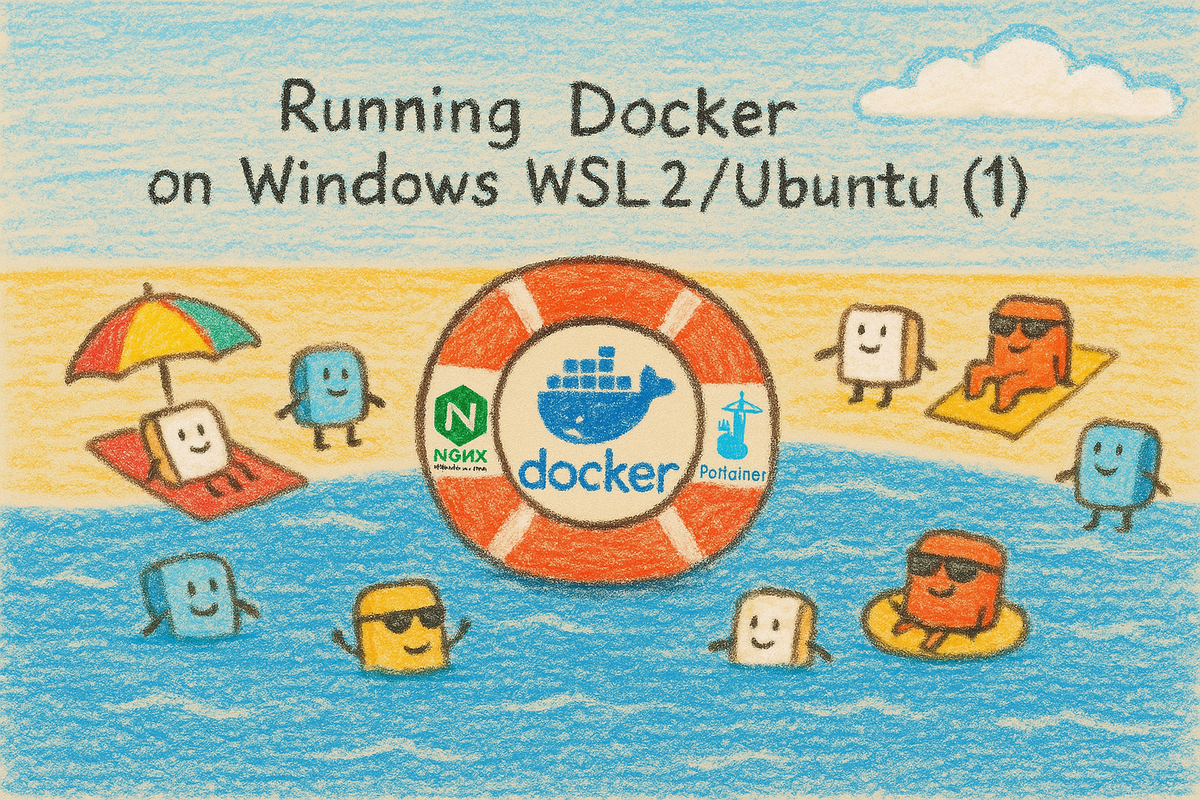
Running Docker on Windows WSL2/Ubuntu (Part 1 ) – Ubuntu Initial Setup + Hyper-V Bridged Networking
Learn how to install WSL2 and set up Ubuntu on Windows 11 to build a fully functional home server with Docker. This guide is perfect for those who want to have a Home Server on Desktop PC.
Introduction
In Part 0, we installed WSL2 and laid out the plan for building a real home server on Windows.
Now it’s time to actually make WSL feel like a standalone Linux server.
In this part we will:
- Enable Hyper-V bridged networking so WSL gets its own LAN IP.
- Do the Basic Ubuntu setup, and assign a static IP for stability.
Step 1: Enable Hyper-V, Create an External vSwitch, and Point WSL to It
We’ll make WSL behave like a standalone machine on your LAN by (1) enabling Hyper-V, (2) creating an Externalvirtual switch bound to your real NIC, and (3) telling WSL to use that switch.
1.1 Prerequisites (quick checklist)
- Windows edition: Hyper-V Manager + External vSwitch require Windows 11 Pro/Enterprise/Education.
- On Windows Home, consider upgrading to Pro for this method. (Alternative: WSL “mirrored” networking or NAT + portproxy.)
- Virtualization: Enable in BIOS/UEFI (Intel VT-x/VT-d, AMD-V/SVM).
- Check: Task Manager → Performance → CPU → Virtualization: Enabled.
- Admin rights: You’ll need an elevated PowerShell/session.
- Heads-up: Creating an External vSwitch briefly interrupts network. Do this locally (not over RDP). VPN/security tools with NIC filter drivers can block switch creation.
1.2 Turn on Hyper-V
GUI method
- Press Win+R →
optionalfeatures.exe→ Enter. - Check:
- Hyper-V
- Hyper-V Management Tools
- Hyper-V Platform
- (Recommended for WSL2) Virtual Machine Platform
- (Optional) Windows Hypervisor Platform
- Hyper-V
- Click OK, let Windows install, then reboot.
PowerShell (Admin) method
dism.exe /online /enable-feature /featurename:Microsoft-Hyper-V-All /all /norestart
dism.exe /online /enable-feature /featurename:VirtualMachinePlatform /all /norestart
dism.exe /online /enable-feature /featurename:HypervisorPlatform /all /norestart
bcdedit /set hypervisorlaunchtype auto
shutdown /r /t 0
Verify after reboot
- Start menu → Hyper-V Manager should open.
# (Optional) Verify that Hyper-V is enabled
Get-WindowsOptionalFeature -Online -FeatureName Microsoft-Hyper-V-All | Select FeatureName,StateWhat it does:
This command queries Windows to check whether the Hyper-V feature is currently enabled.
- If the result shows
Enabled, you’re good to go. - If it shows
Disabled, you’ll need to re-run the installation step or enable it through Windows Features.
1.3 Create an External Hyper-V Virtual Switch
- Open Hyper-V Manager → right pane Virtual Switch Manager…
- New virtual network switch → External → Create Virtual Switch.
- External network: choose your actual adapter (Ethernet or Wi-Fi) that’s online.
- OK → confirm. (Expect a brief network blip while Windows rebinds the NIC.)
Name it clearly, e.g.:
WSL-Bridged
Tips
• Choose the adapter you really use for internet/LAN.
• If you run into errors, temporarily disable VPN/endpoint filter drivers, create the switch, then re-enable.
1.4 Tell WSL to use that switch (.wslconfig)
WSL reads a global config file from your user profile.
Add the bridged config (exact switch name matters):
[wsl2]
networkingMode=bridged
vmSwitch=WSL-Bridged
guiApplications=false
idleTimeout=0
Create or edit a file named:
.wslconfig
Open your profile folder:
C:\Users\<YourUser>\
Note.wslconfigaffects all WSL2 distros. You can still control per-distro behavior later if needed.
1.5 Restart WSL and verify you’re on the LAN
- (Optional but recommended) Reserve this IP in your router’s DHCP reservation list so it won’t change.
Inside Ubuntu, confirm you received a LAN IP (not 172.x NAT):
ip -4 addr show eth0
You should see something like 192.168.0.121/24.
Fully restart WSL:
wsl --shutdown
wsl
Troubleshooting (common gotchas)
- No Hyper-V Manager? You’re likely on Windows Home, or virtualization is off in BIOS.
- Switch creation fails: VPN/AV filter drivers often block it. Disable them briefly and retry.
- WSL still shows 172.x IP: Double-check the
.wslconfigspelling, the exactvmSwitchname, thenwsl --shutdownagain. - Network drop during switch creation: Normal; it rebinds your NIC. Avoid doing this over remote sessions.
Step 2: Basic Ubuntu Setup
Now that WSL Ubuntu is up and running, let’s prepare it like a real server. Think of this step as laying the foundation—just like racking a new physical machine before deploying apps.
2.1 Log into Ubuntu
From Windows:
wsl
Enter the username and password you created during Ubuntu’s first launch. You should now see your Linux prompt:
youruser@wsl-pc:~$
2.2 Set a Root Password
By default, your WSL Ubuntu user already has sudo privileges. Unlike Synology DSM (which requires sudo -i to get a root shell), here you can simply assign a password to the root account directly:
sudo passwd
This lets you log in as root if ever required, though for daily tasks, stick with your normal user + sudo.
2.3 Update Packages
Keeping your system current avoids nasty surprises later. Run:
sudo apt update && sudo apt upgrade -y
This:
- Updates package lists
- Installs the latest security patches
- Brings pre-installed tools (like
nano,curl, etc.) up to date
💡 Tip: Repeat this regularly, or set up unattended upgrades later.
2.4 Install Basic Utilities
A minimal Ubuntu install doesn’t include everything you’ll want. Add these essentials:
sudo apt install -y curl wget git unzip htop net-tools vim
curl/wget: fetch files from the webgit: version control, often required by Dockerized appsunzip: extract .zip archiveshtop: monitor processes interactivelynet-tools: includesifconfig, useful for network checksvimornano: your choice of text editor
2.5 Set Timezone & Locale
Correct time is critical for SSL certificates, cron jobs, and logs.
sudo timedatectl list-timezones | grep -i seoul   # find your zone
sudo timedatectl set-timezone Asia/Seoul          # replace with yours
Check:
timedatectl
2.6 Create a Docker Project Folder
Keep your containers organized in one place:
mkdir -p ~/docker
Inside this folder, you’ll create subfolders like ~/docker/npm, ~/docker/portainer, etc. Later this makes backups much easier.
Step 3: Verify & Fix Your WSL IP Address
One of the biggest headaches when running services inside WSL is that its internal IP can change every time you restart. Since we’re treating WSL like a real server on the LAN, it’s best to give it a static IP so we always know where to find it.
3.1 Check Your Current IP
Inside Ubuntu:
ip -4 addr show eth0You should see something like 192.168.0.121/24.
3.2 Switch from DHCP to Static IP (Netplan)
Ubuntu 24.04 uses Netplan for network configuration.
- Edit the config file:
sudo nano /etc/netplan/01-netcfg.yaml- By default, it probably looks like this:
network:
  version: 2
  ethernets:
    eth0:
dhcp4: true- Change it to a static configuration:
network:
  version: 2
  ethernets:
    eth0:
      dhcp4: false
      addresses:
        - 192.168.0.121/24     # your chosen static IP
      routes:
        - to: default
          via: 192.168.0.1     # your router’s gateway
      nameservers:
        addresses: [8.8.8.8, 1.1.1.1]
3.3 Apply the Changes
sudo netplan apply3.4 Test Connectivity
ping -c 3 google.com✅ If you get replies, the static IP is working.
Step 4: Assign a Static IP & Configure Port Forwarding in Your Router
Every reboot, your router’s DHCP server might try to hand WSL a new IP. That’s a problem—if the IP changes, your domain or port forwarding rules will suddenly stop working. The solution is simple: reserve a fixed IP for your WSL instance in your router.
- Log into your router’s admin page.
- Find the WSL device (look for its MAC address under “DHCP clients”).
- Assign it a fixed IP (for example,
192.168.0.121).
Now WSL will always boot with the same LAN address.
👉 With this done, WSL will always come up on the same LAN address (e.g., 192.168.0.121). That means your Docker containers will be accessible consistently, and you won’t need to keep re-checking which IP WSL grabbed this time.
Why Port Forwarding Matters
When someone visits your server from the internet, their request first hits your router. The router then needs to know which device on your network should handle that request. That’s what port forwarding does:
- If someone comes in on port 80, that’s plain HTTP → forward to your WSL IP.
- If they come in on port 443, that’s secure HTTPS → forward to your WSL IP.
- For now, also open port 81 → this will be used temporarily for the Nginx Proxy Manager admin panel.
👉 No matter which brand of router you own, almost all of them have a “Port Forwarding” or “NAT/Virtual Server” section. The menus look different, but the concept is always the same: external port → internal IP + port.
So in practice, you’ll be telling your router:
- Forward external 80 → 192.168.0.121:80
- Forward external 443 → 192.168.0.121:443
- Forward external 81 → 192.168.0.121:81
With this setup, your router acts like a traffic cop: visitors coming in through your domain or public IP get routed straight to your WSL Ubuntu server, where Docker and Nginx Proxy Manager will take over.
👉 This is the last step to make your WSL truly behave like a real server on your network. From here on, it will always be reachable at the same address, and external visitors can find it reliably through your domain.
Why This Setup Rocks
- ✅ No NAT headaches (SSH, HTTP just work).
- ✅ WSL is like a dedicated server on your LAN.
- ✅ Easier SSL/Reverse Proxy configuration later.
- ✅ Predictable networking for Docker containers.
What’s Next?
In Part 2, we’ll install Docker Engine (not Docker Desktop) inside WSL and bring up the first container: Nginx Proxy Manager.
That’s when the server starts becoming truly useful. 🚀