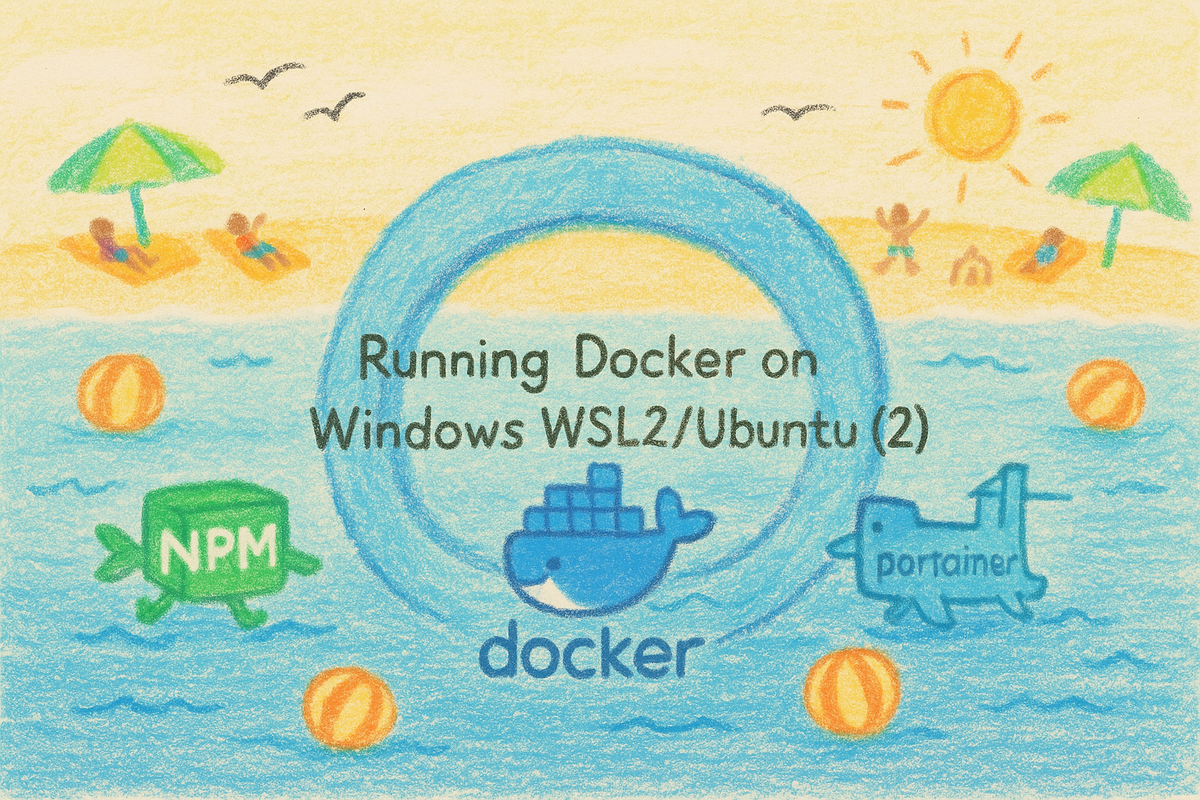
Running Docker on Windows WSL2/Ubuntu (Part 2) – Installing Docker Engine and Essential Settings
Learn how to install Docker Engine on WSL2 / Ubuntu. Step-by-step guide to configuring essential settings like Enabling Docker on Boot, resource limits, and experimental features for a smoother Docker experience.
🐳 Introduction: Why Docker Engine?
In Part 1 of this series, we installed WSL2 with Ubuntu and got the Linux environment ready. Now it’s time to bring Docker into the picture.
You might be wondering: Should I install Docker Desktop for Windows, or should I install Docker Engine directly inside Ubuntu WSL2?
Both methods work, but I personally chose Docker Engine inside WSL Ubuntu. Here’s why:
- 🧩 Closer to Native Linux – Docker was born on Linux. Running it directly in Ubuntu feels more natural and stable.
- 🔒 Separation from Windows – Since I set up WSL with Hyper-V bridged networking (so it acts like an independent computer on my LAN), I prefer to keep Docker fully inside Ubuntu, without extra dependencies on Windows.
- ⚡ Lightweight & Efficient – Docker Engine is smaller than Docker Desktop, avoids the GUI overhead, and integrates cleanly into the Linux environment.
- 🔧 More Control – I can tweak configs, cgroups, and storage drivers just like on a real Linux server.
- 💰 No Licensing Concerns – Docker Desktop requires a paid license for some business users, while Docker Engine is completely free.
For my home server project, having a lightweight, native-like setup inside Ubuntu outweighs the convenience of Docker Desktop’s GUI.
Step 1: Install Docker Engine on Ubuntu WSL
Below are the official installation commands from Docker’s documentation. You can simply Copy and Paste these on your WSL Shell.
We’ll walk through them step by step so you know what’s happening.
1. Add Docker’s official GPG key
sudo apt-get update
sudo apt-get install ca-certificates curl
sudo install -m 0755 -d /etc/apt/keyrings
sudo curl -fsSL https://download.docker.com/linux/ubuntu/gpg -o /etc/apt/keyrings/docker.asc
sudo chmod a+r /etc/apt/keyrings/docker.asc
✔ Here we’re:
- Updating apt so it knows about the latest package lists.
- Installing
ca-certificatesandcurl, which are needed to securely download files. - Creating a dedicated keyring folder (
/etc/apt/keyrings). - Downloading Docker’s official GPG signing key, then giving it proper read permissions.
👉 This ensures all future Docker packages we install are verified and authentic.
2. Add the Docker repository to Apt sources
echo \
  "deb [arch=$(dpkg --print-architecture) signed-by=/etc/apt/keyrings/docker.asc] https://download.docker.com/linux/ubuntu \
  $(. /etc/os-release && echo "${UBUNTU_CODENAME:-$VERSION_CODENAME}") stable" | \
  sudo tee /etc/apt/sources.list.d/docker.list > /dev/null
sudo apt-get update
✔ Here we’re:
- Adding Docker’s official apt repository to our system.
- Using your Ubuntu codename (e.g.,
noblefor 24.04,jammyfor 22.04) so apt knows exactly where to fetch packages. - Running
apt-get updateagain to pull in the new Docker repository information.
3. Install Docker Engine
sudo apt update
sudo apt install docker-ce docker-ce-cli containerd.io docker-buildx-plugin docker-compose-plugin -y
✔ Here we’re:
- Installing the core Docker Engine (
docker-ce) and its CLI. - Installing
containerd.io, which is the container runtime Docker relies on. - Adding the Buildx plugin (for advanced builds) and the Compose plugin (to run
docker compose).
At this point, Docker Engine is fully installed and ready to run. 🚀
4. Reference
This entire section comes directly from the official Docker documentation:
👉 Install Docker Engine on Ubuntu
It’s always a good idea to double-check there in case anything changes in the future.
Step 2: Verify Installation
Now that Docker Engine is installed, let’s make sure everything is working correctly.
This step might feel trivial, but it’s the best way to confirm your setup is healthy before moving forward with more complex containers.
1. Check the Installed Version
Run:
docker --versionYou should see output similar to:
Docker version 27.1.1, build abc1234✔ This confirms that the Docker CLI is installed and linked to the Docker daemon properly.
If you see an error like docker: command not found, it usually means something went wrong with the installation or your PATH isn’t updated.
2. Run the Hello-World Test Container
Let’s pull and run the official hello-world image:
sudo docker run hello-worldWhat happens here:
- Docker connects to Docker Hub (the official image registry).
- It downloads the small
hello-worldimage if you don’t already have it cached. - It spins up a container, runs a simple script, and prints out a confirmation message.
If successful, you’ll see something like this:
Hello from Docker!
This message shows that your installation appears to be working correctly.
...
It will also explain step by step what Docker just did:
- The client contacted the Docker daemon.
- The daemon pulled the image from Docker Hub.
- The image was run as a new container.
- The container printed this message and exited.
✔ In other words, everything from networking to container runtime is functioning properly.
3. Common Issues
- Permission Denied
If you seeGot permission denied while trying to connect to the Docker daemon socket, it means your user isn’t in thedockergroup yet. For now, prefix withsudo. We’ll fix this in a later step. - Network Problems
If the image can’t be pulled, check your internet connection or firewall settings. Sometimes corporate or ISP firewalls block Docker Hub. - Already Works without sudo
Depending on your setup,sudomight not be needed. That just means your user is already in the docker group — lucky you!
4. Why This Step Matters
Running hello-world isn’t just a gimmick. It ensures:
- Your Docker client ↔ daemon communication works.
- Docker can reach the internet (Docker Hub).
- Containers can start, run, and exit cleanly.
Think of it as Docker’s “smoke test” before deploying real apps.
👉 With this test completed, you can be confident your Docker installation is healthy and ready for actual workloads.
Step 3: Run Docker Without sudo
By default, only the root user has permission to run Docker commands. This means you would normally have to prefix every command with sudo (for example, sudo docker ps). While this works, it quickly becomes inconvenient. The better way is to give your normal Linux user account permission to access the Docker daemon directly.
1. Create the docker group (if it doesn’t already exist):
sudo groupadd docker2. Restart your WSL session so the new group membership takes effect:
exit
wsl
Alternatively, you can run:
newgrp dockerto refresh group membership immediately without restarting.
3. Test the setup by running:
docker psIf you see a list of containers (or an empty list if none are running) without needing sudo, then the configuration is correct.
4. Add your current user to the group:
sudo usermod -aG docker $USERThe-aGoption means “append this user to the given group(s).”
This allows your account to communicate with the Docker service without root privileges.
✅ From now on, you can run Docker commands as a normal user, which makes daily work smoother and avoids unnecessary root usage.
Part 4: Essential Settings
Now that Docker Engine is installed inside your WSL2 Ubuntu, it’s time to refine the environment so it feels like a stable, production-ready home server.
We’ll go over a few key configurations to improve convenience, stability, and resource control.
1. Enable Docker on Boot
Unlike bare-metal Linux, WSL doesn’t start services automatically.
To ensure Docker Engine runs whenever Ubuntu launches:
- Edit
/etc/wsl.conf:
[boot]
systemd=true- Enable Docker with systemd:
sudo systemctl enable dockerNow Docker will start automatically each time you enter WSL.
2. Adjust Resource Limits
WSL2 shares your PC’s CPU and RAM, but you can set boundaries.
Create or edit .wslconfig in your Windows user folder:
C:\Users\<YourUser>\.wslconfig[wsl2]
memory=8GB
processors=4
swap=8GBRestart WSL for changes to take effect:
wsl --shutdown
wsl
This prevents Docker from using all available resources and keeps your desktop responsive.
3. Optimize Networking
Because we’re running Hyper-V bridged networking, WSL gets its own LAN IP like a real machine.
For reliability:
- Reserve a static IP for WSL in your router.
- Set up port forwarding: forward
80(HTTP),443(HTTPS), and81(temporary for Nginx Proxy Manager) to your WSL IP. - DNS configuration: If using DuckDNS or a personal domain, add A-records pointing to your public IP (root and wildcard).
This ensures external requests always find the right destination.
4. Enable BuildKit
BuildKit makes Docker builds faster and more efficient.
Enable it by editing /etc/docker/daemon.json:
{
  "features": {
    "buildkit": true
  }
}
Restart Docker:
sudo systemctl restart docker5. Configure Log Rotation
Without log limits, containers can easily fill up disk space.
Enable rotation inside /etc/docker/daemon.json:
{
  "log-driver": "json-file",
  "log-opts": {
    "max-size": "10m",
    "max-file": "3"
  }
}
Restart Docker again:
sudo systemctl restart dockerAt this stage, your Docker Engine inside WSL2 is no longer a barebones install.
With auto-start, resource controls, optimized networking, and sane defaults for builds and logs, it’s ready for serious workloads.
What’s Next?
Now that Docker Engine is fully installed and tuned inside WSL2 Ubuntu, it’s time to bring the pieces together.
In Part 3, we’ll:
- Set up DuckDNS for a free domain with wildcard support
- Deploy Nginx Proxy Manager as our reverse proxy
- Request our first SSL certificate and connect it to DuckDNS
- Open the path for hosting multiple apps securely under subdomains
👉 With this in place, your home server will finally be reachable from anywhere, over HTTPS, with just a few clicks. 🚀